The problem
You have probably seen a folder like this, or made one:
Left: the usual way of keeping versions, a new copy of the file for every change, until nobody knows which one is the latest or what changed between them. Right: one folder, with a history of snapshots that records what changed, when, who changed it, and why.
Copies like report-final-2-really-final.docx answer none of the questions you will have later:
- Which version is the newest?
- What exactly changed between two versions, and why?
- How do I get back the paragraph I deleted last Tuesday?
- My colleague edited the same file. How do we put our changes together?
Git answers all of them.
What Git does
Git is a program that looks after a folder for you. Whenever you like, you tell Git to take a snapshot of the files in the folder, with a short message saying what you did: “Add a contact page”, “Fix the spelling of the title”. Git keeps every snapshot you save, so you can always go back to it.
With those snapshots you can:
- see the whole history of your project: what changed, when, who changed it, and why;
- compare any two versions, line by line;
- go back to any earlier version of a file, or of the whole project;
- try out an idea on the side, and keep it or drop it without touching your working version;
- combine your work with other people’s work.
Think of the save points in a video game. You save before the difficult part. If it goes wrong, you go back to the save point and try again. Git gives you save points for your work, as many as you like, each with a note saying what you did.
Git runs on your own computer and works without the internet. It works with any kind of file, but it is best with text: web pages, program code, notes, data, LaTeX papers. Word files, images and PDFs can be kept too, but Git cannot show you what changed inside them. Most software in the world is kept in Git.
What GitHub adds
GitHub is a website, github.com, that keeps a copy of your Git projects on the internet. That gives you:
- a backup: if your laptop breaks, your work and its history are safe;
- the same work on several computers, kept in step;
- working with other people: they can see your project, suggest changes, and you review them before they go in;
- a free website for your project, with GitHub Pages.
Git runs on your computer and keeps the history of your project there. GitHub keeps a copy on the internet. You send your new snapshots to GitHub, and bring other people’s snapshots from it.
Git is the tool; GitHub is a website built around it. You can use Git without GitHub. GitHub is one of several such websites (GitLab and Bitbucket are others). The Git you learn here works with all of them; only their websites look different.
The words you will meet
You do not need to remember these now. Each one is explained again when you first use it.
| Word | In plain words | Lesson |
|---|---|---|
| repository (or “repo”) | A project folder whose history Git keeps | 3 |
| commit | One snapshot of the project, with a message | 3 |
| branch | A separate line of work, to try something without disturbing the main version | 5 |
| merge | Combining the work of two branches | 5 |
| remote | A copy of your repository somewhere else, usually on GitHub | 7 |
| push | Sending your new commits to GitHub | 7 |
| pull | Bringing new commits from GitHub to your computer | 9 |
| clone | Copying a whole repository from GitHub to your computer | 9 |
| pull request | A request, on GitHub, to merge a branch, with a place to review it first | 10 |
What you will build
In this series you build a small personal web page, one step at a time, and keep it in Git from
the very first line. Along the way you change it, try ideas on branches, fix a conflict, put it on
GitHub, and publish it. At the end it is online at your own address,
https://your-username.github.io/my-page/, and looks like this:
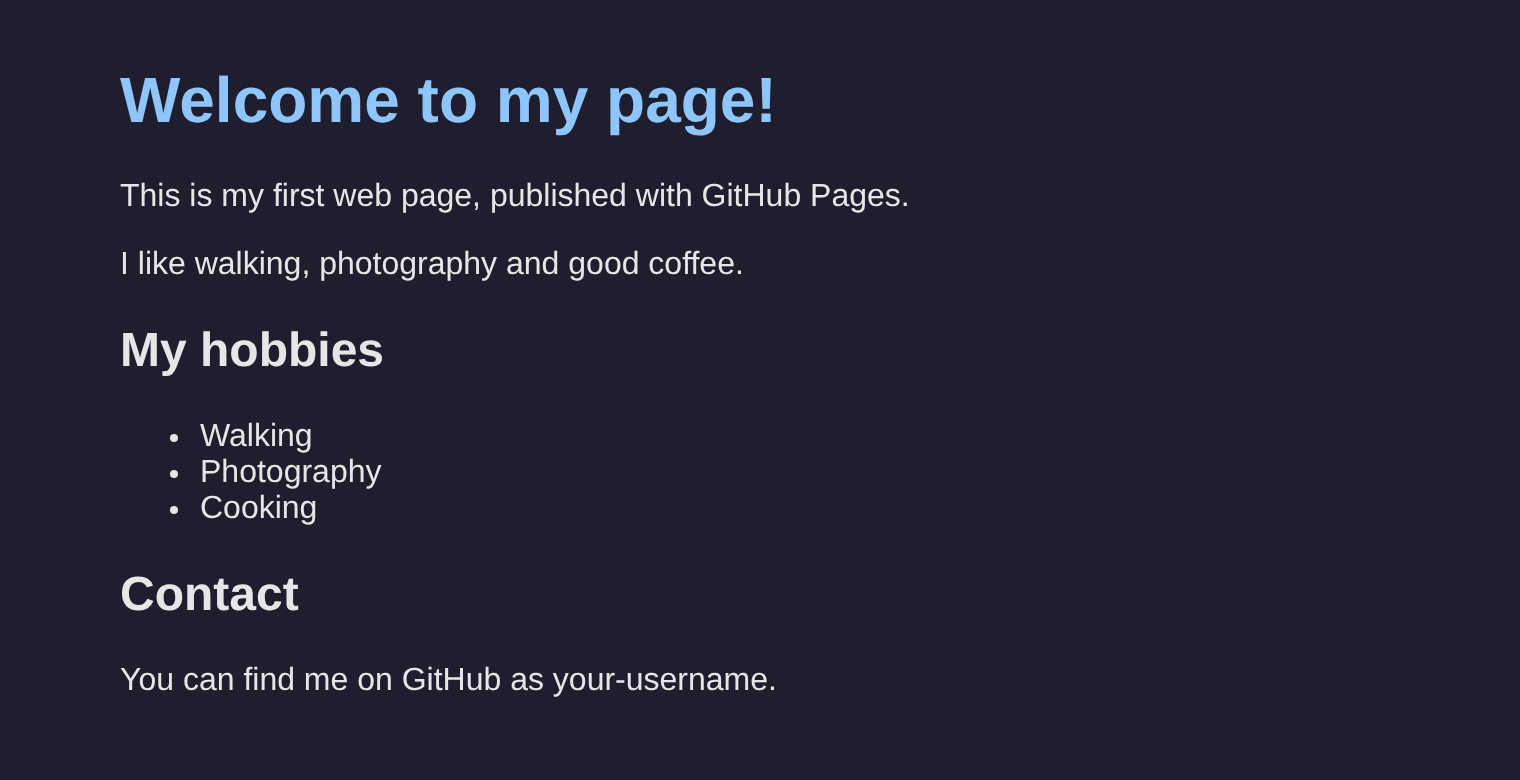
The page you will have built by Lesson 11, published with GitHub Pages. You do not need to know anything about web pages: every line is given to you.
You do not need to be a programmer. If you can type and follow instructions, you can do this.
How the lessons work
Each lesson takes 15 to 45 minutes. Do them in order: each one starts where the last one ended.
Type every command yourself, in a terminal: a window where you give the computer
instructions by typing them. Lesson 2 shows you how to open one. Commands appear in dark boxes
like this one, after a $, followed by what the computer answers:
$ git statusOn branch main
nothing to commit, working tree clean
The $ is not part of the command: type only what comes after it, then press Enter
(Return on a Mac). There is nothing to type yet: this box is only an example.
Compare your answer with the one shown. Every answer in this series was produced by actually
running the commands, so yours should look the same, except for a few things that are different
on every computer: the long codes called hashes (like c50e3a0), dates and times, the path to your
home folder, version numbers, and sizes and speeds. Everything else should match. If it does not,
look for the If something went wrong box below the step, or the
troubleshooting page.
Where Windows, macOS and Linux differ, the lesson has a tab for each system, and opens yours first. You will also see these boxes:
Steps you do on GitHub’s website, in your browser.
Steps you do in VS Code, the editor you install in Lesson 2.
A shortcut or a good habit.
Something that catches many people out.
At the end of each lesson there is a summary, a table of the commands you used, and a short quiz. Click Mark as done at the bottom when you finish, and the list of lessons shows your progress (it is kept in your browser, nowhere else).
What you learned
- Git keeps the history of a project folder as a series of snapshots called commits, on your own computer.
- GitHub is a website that keeps a copy online, so you can back it up, share it, work with others and publish it.
- You will build a small web page, step by step, and put it online in Lesson 8.
- Type every command yourself, without the
$, and compare what you see with the lesson.